
Hi, I thought I’d show you my favourite editing app today. Snapseed by Nik software. inc. Lots of online tutorials out there so I won’t go in to extensive details, but it’s worth having a look and explaining what effects I use mainly from this great app. When you first open up snapseed on your iphone you have the choice of taking an image and editing from the app or loading an image from your camera roll and editing from there on in. The latter is the option I always choose as I take my images either on the Hipstamatic app or Procamera 7, so I will start with an image loaded from the camera roll onto snapseed.


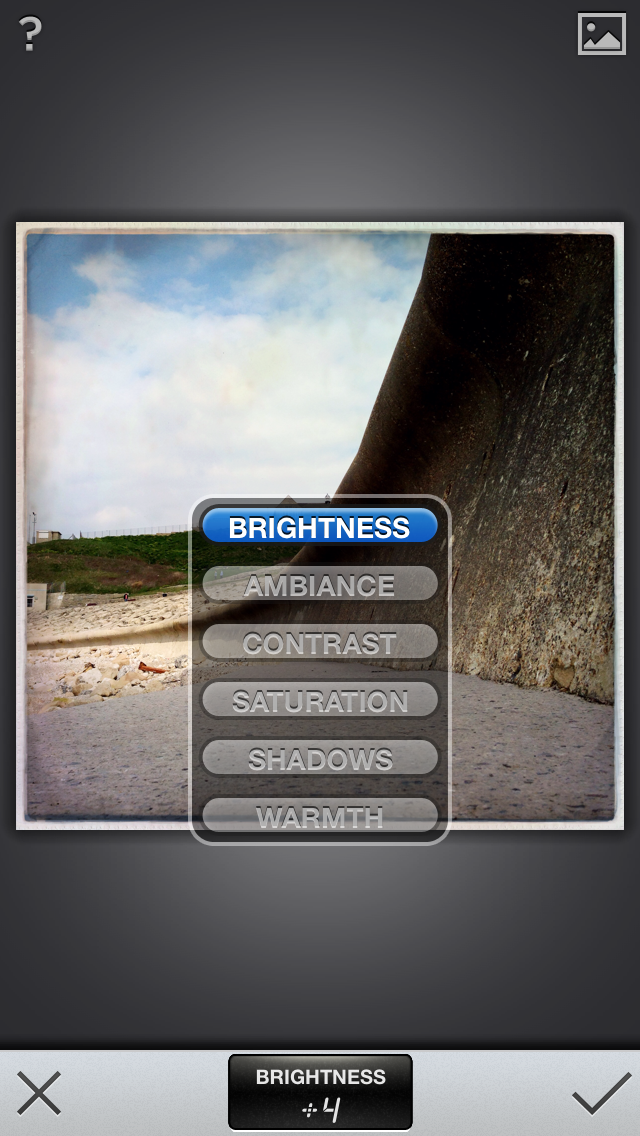
I will not choose Automatic normally as this just gives the apps choice of editing based on the info that it can read. My first port of call is usually Tune image. From here you can globally adjust the brightness, ambiance, contrast, saturation, shadows and warmth of your image.
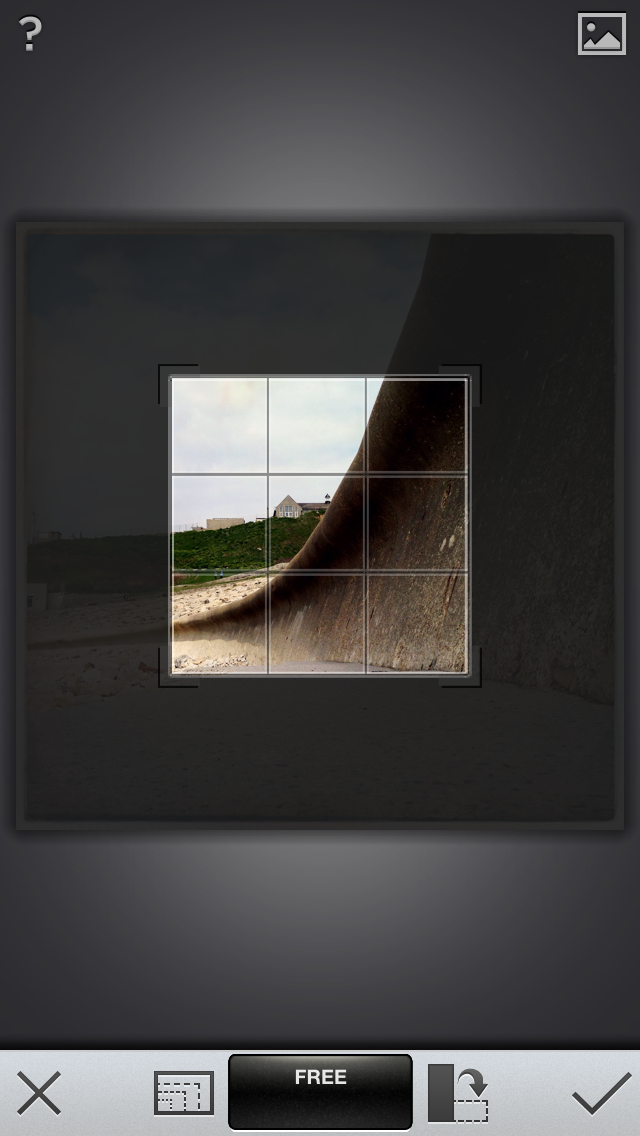
Next step is usually Straighten and cropping. Straighten is great for Horizons and uneven shots and I will always straighten before cropping as you will lose some of the image depending on how uneven your shot is. Cropping is great, you can free crop or set a parameter like square or 3:2 etc to size your images as you want.

 You can make all the adjustments using you fingertips and it’s very intuitive. There’s load of special effect filters to use in snapseed to give your images an extra dimension, I’ll start with Black & white.

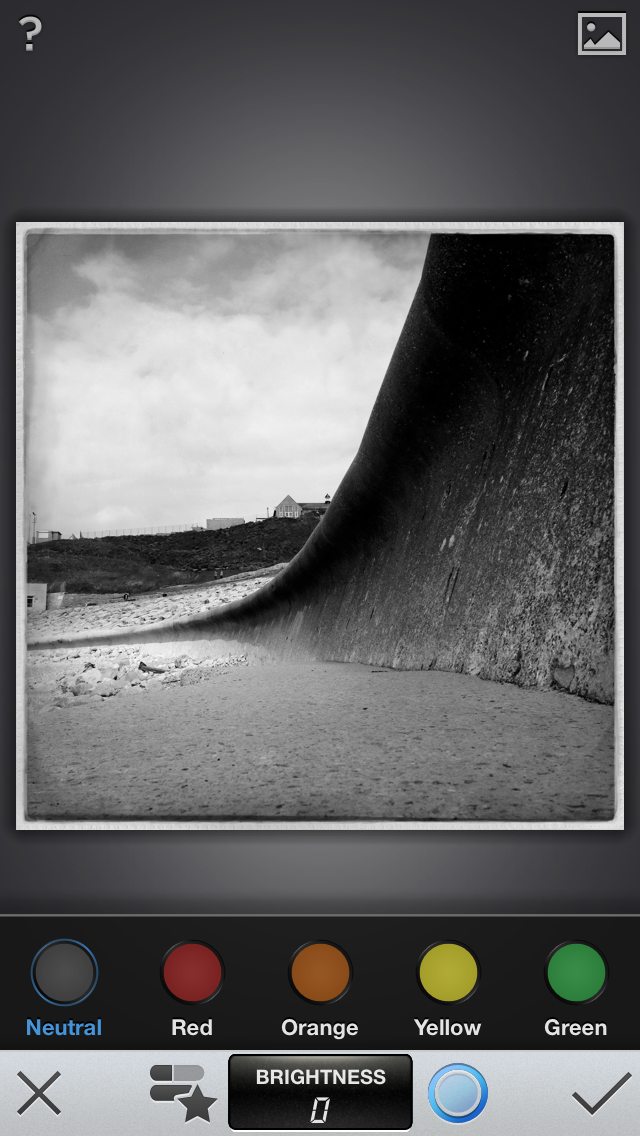 You can adjust the Brightness, contrast and grain using this filter and you can also use one of there set filters like contrast, dark or film. There’s even a set of coloured filters to give your B&W images extra effects.
Two filters that I think are closely related are Drama and HDR. These can greatly influence your images but not always for the best so they do offer slider controls to tune them down, so you get loads of control..
 The first image is the Drama screen where you can control the overall filter effect and the colour saturation. The second screen is for the HDR filter which gives you a couple more controls with smoothing and brightness.
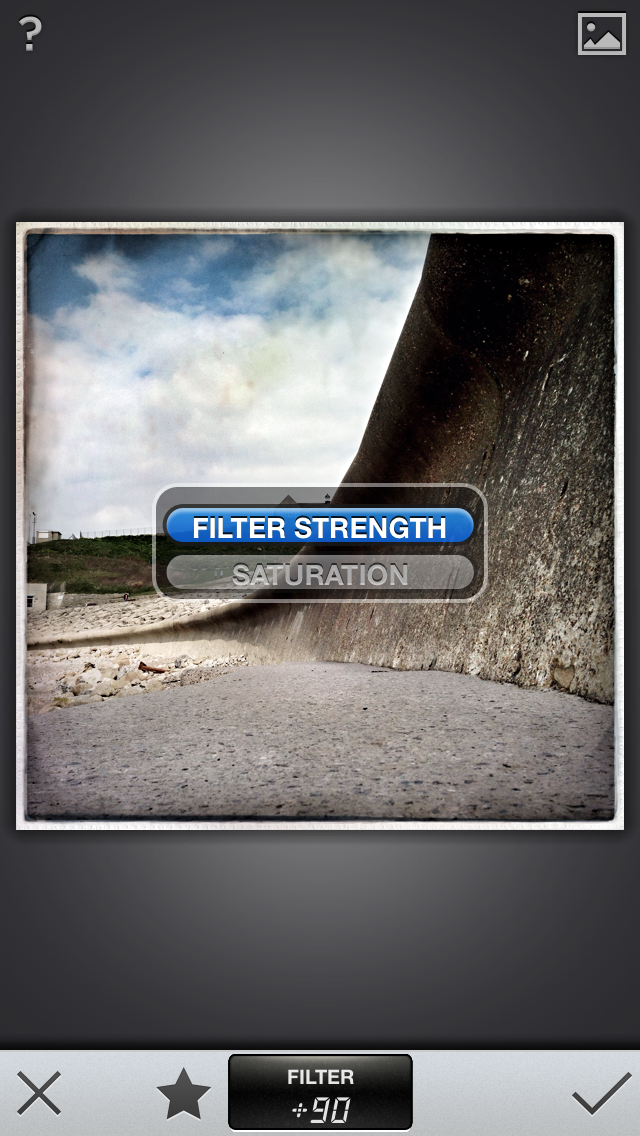
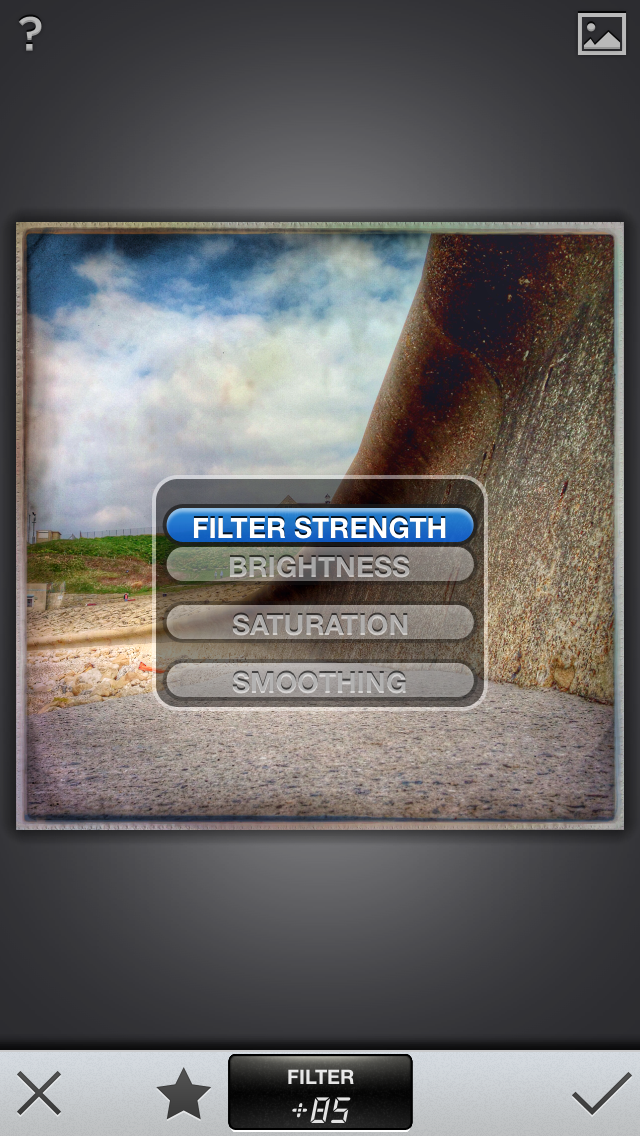
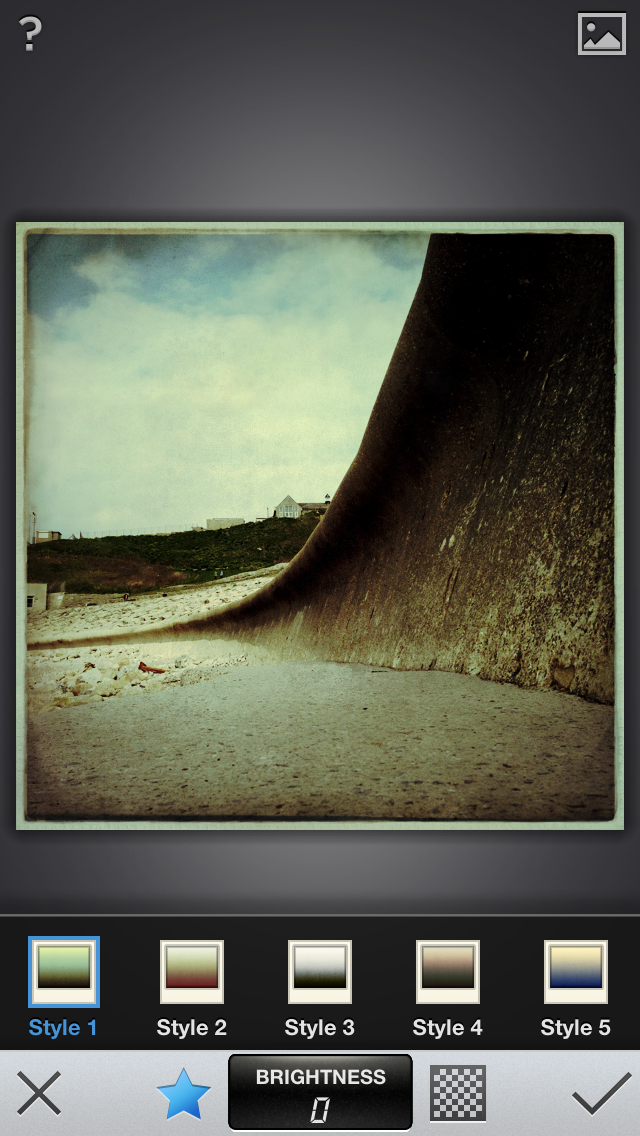
Three filters which I usually use independently of each other, (although not always!) are the Vintage, Grunge and Retrolux filters. Vintage adds a different style filter to your image and there are 9 styles each of which you can dial down with sliders for brightness, saturation, texture strength, centre size and style strength, so there’s loads of control.
Grunge can be really useful and give your images a totally different look, which you can also adjust via the sliders. There’s literally hundreds of different grunge effects…
 This image shows effect style 720 and the various sliders to effect that style.
Finally there’s Retrolux. This give various different light leak effects and 13 individual styles all of which are adjustable!!
 I don’t use this filter very often but occasionally it saves the day with a particular image..
Now here’s two of my favourite filter’s in snapseed, select adjust and details. Select adjust lets you select any area on your image and tune that area only with brightness, contrast and saturation..
 You can make that area of influence as large or as small as you want and you can even see the area as a red highlight on the screen. You can select multiple areas and if you run out just come out of the filter and go back in again….
 This filter is great as well and I normally use it toward the end of my editing work. It sharpens your images and you can also adjust the structure which defines the sharpening and looks great, especially in Mono.
The next two filters are Centre focus and Tilt + shift. Centre focus gives you a vignette effect which you can darken or give an old lens look too. You can also adjust the size of it and use the blur slider to increase or decrease the effect.

 The tilt+shift filter give you a transitional fade top to bottom or left to right and can give some interesting looks to some images..
The final filter effect is Frames and this does what its says on the tin!. Loads of different frames which you can make bigger or smaller and even change the colour..

 There’s 23 different frames to choose from, so plenty of choice…
Ok that’s my brief look at snapseed. It’s a great editing app, and it’s free!! so well worth a visit. I hope I’ve covered the main filters here as there’s so much to show, but as I said earlier theres some great video tutorials out there you can look at. Here’s a link for snapseed..https://itunes.apple.com/gb/app/snapseed/id439438619?mt=8 thanks for looking …


I love this app too. 😀
It’s great my definite go to app
Me too! it’s the one I usually start an edit in 🙂